
Does the thrill, the challenge, and the accomplishment of assembling one of these age-old, intricate beauties DIY inspire you? If so, not only will you feel like a boss once you “single-handedly” install one of these stunning and sophisticated wooden crafts, but you will also save money at the same time! Additionally, the installation process is straightforward, and a pavilion kit is a valuable asset to any outdoor space.
In this instructional blog, let’s first walk through the written step-by-step process of installing a pavilion kit. Following the written steps, enjoy viewing the visual guide as well.
The Written 8 Steps to Installing a Pavilion Kit
Step 1. Laying Out the Post Locations
The first step in constructing a timber frame pavilion is laying out the exact post locations. Take a tape measure and mark each post location using the provided measurements. Check if the layout is square by measuring the diagonal distance from corner to corner. If both diagonal measurements are equal, the layout is square.
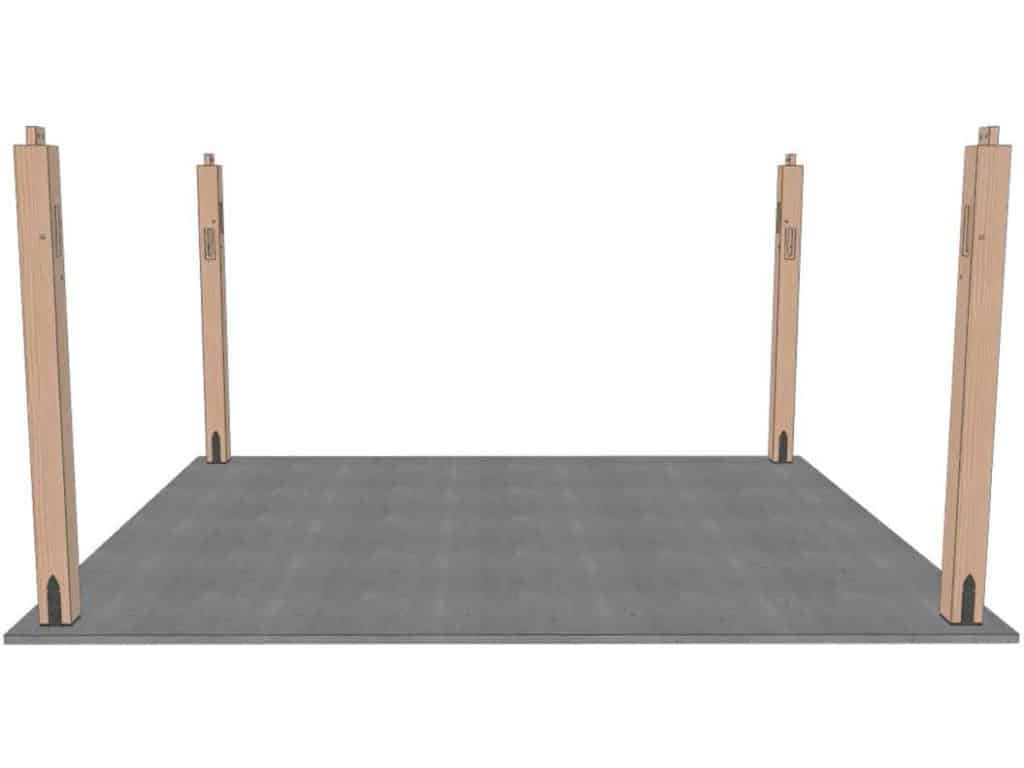
Step 2. Setting the Brackets & Posts
The next step is to set the post brackets and posts. Anchor each post base to the cement footers using two wedge anchors. Once this is complete, attach each post to a base with structural screws.
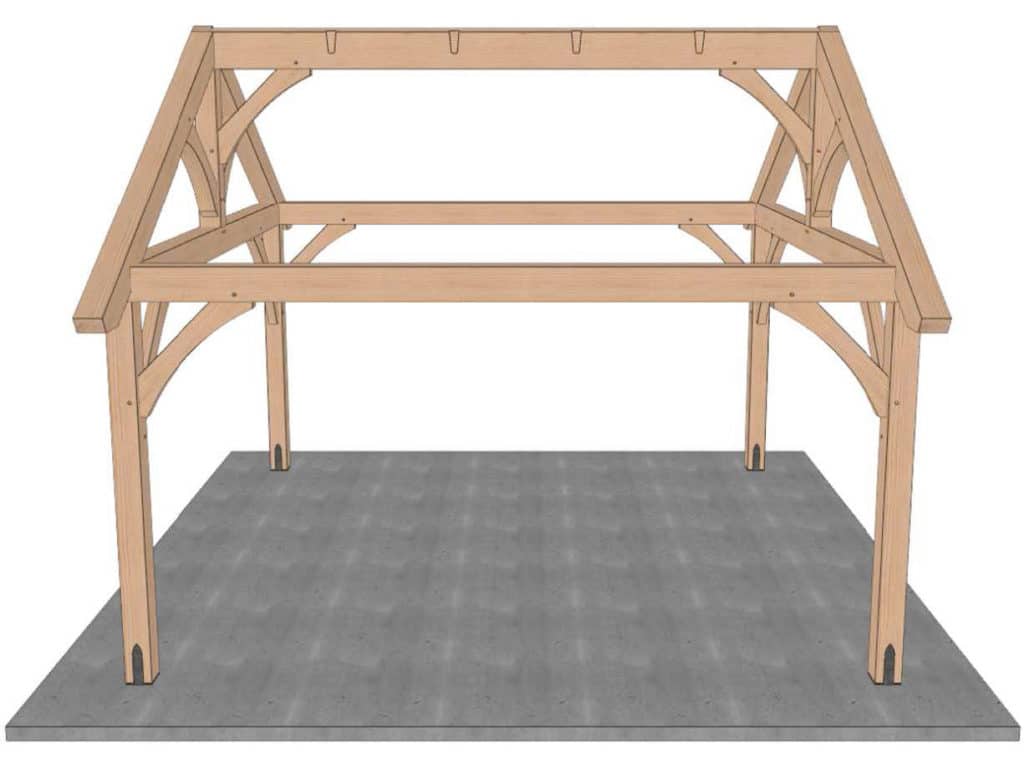
Step 3: Installing the Cross Beams & Supports
Step 3 involves installing the rafter plates and supports of the pavilion. Start by connecting the braces to the posts and inserting temporary rods into the pre-drilled holes. Then set the rafter plates by aligning the posts and support braces to fit inside the mortise slots of the cross beams. After this is complete, insert the supplied oak pegs to lock the mortise and tenon joinery into a rigid, singular unit.

Step 4: Installing the Roof System
Next up in the installation process is installing the roof system. First, install the trusses or vents. Next, install the ridge beam. Finally, install the pre-cut wood rafters between the ridge beam and rafter plates.
Step 5: Installing the Roof Planks
Step five involves installing the roof planks. Begin by fitting the roof planks together with the tongue and groove joints. When they are properly placed, nail them to the wood members underneath.

Step 6: Installing the Roofing Paper & Drip Edge
The sixth step is installing the roofing paper and drip edge. Make sure the roof is smooth and free of any dirt and wood chips. Use a stapler or nailer to fasten the roofing paper and drip edge to the wooden roofing planks.
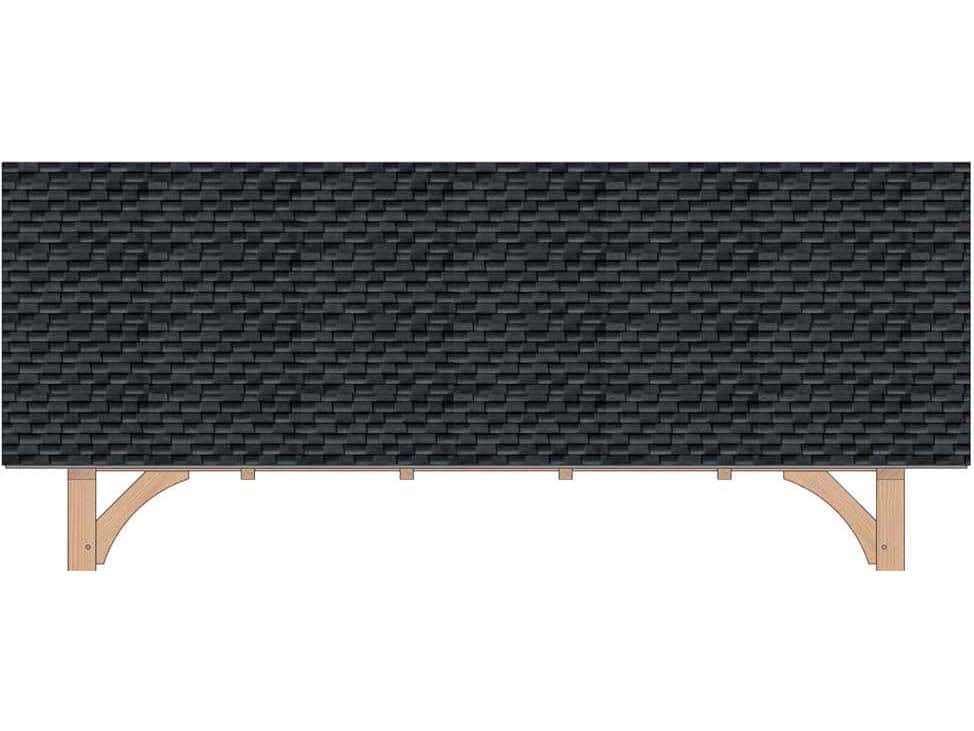
Step 7: Install the Roofing Material
The seventh and final step is installing the shingles or desired roof of your choice. Make sure the fasteners do not protrude through the roof decking.
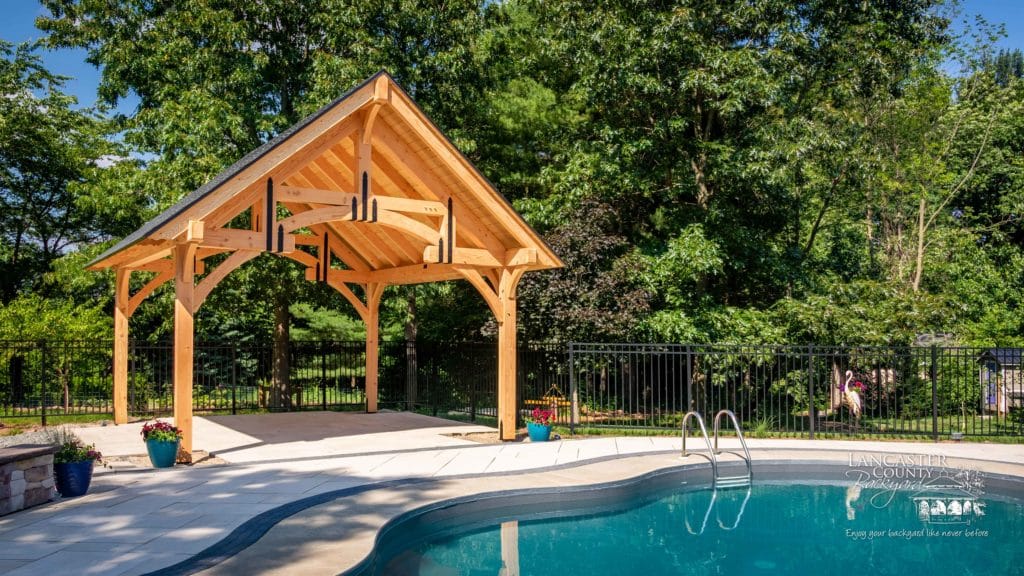
Step 8: Enjoy Your New Timber-Frame Pavilion!
You did it! Way to go! Now that your stunning, new pavilion kit is installed, invite some friends over and enjoy the beauty of your new gathering space! Nothing beats the design and appeal of the Timber Frame Pavilion!

Watch the 8 Step Process of a Pavilion Installation!
If you are more of a visual learner or if you appreciate both written and visual learning tools, enjoy watching a how-to video of a pavilion kit installed. Watch the process in action and glean all the visual tips you can from Lancaster County Backyard’s installation of their Timber Frame Pavilion Kit!
Armed With the Right Tools
While the above-written and visual steps offer great guidance in installing a pavilion kit, without the proper tools, the job is less than enjoyable. The following list provides you with all the necessary tools needed for a successful and enjoyable installation of the pavilion kit. Many of these tools can be found at your local hardware store or Home Depot.
- Drill
- Impact Driver
- Concrete Drill Bit
- Rotary Hammer Drill
- Circular Saw
- Framing Square
- Hammer
- Level
- Ratchet with Socket
- Plank (recommended for setting rafters)
- ½” Rod to Temporarily Hold Braces During Installation
- Laser Level (recommended for setting posts)
- Roofing Nailer and Nails
- Framing Nailer and Framing Nails
Now that you are equipped with the right tools for the job, the next question is…do you have a timber frame pavilion kit?
