Lancaster County Backyard
Hi! Questions about a pavilion, pergola, gazebo or shed? Leave us a message and we’ll get back to you shortly.
"*" indicates required fields

Wood pavilions bring natural warmth and quiet presence, from clean modern profiles to classic garden forms. Each becomes an open air room with shade, proportion, and a steady center for everyday gatherings or weekend celebrations. Choose the species and finish that suit the setting, and let the grain, trim, and roofline set the tone for your landscape season after season.

The Lakefront is our most basic and cost-effective wood pavilion model, made for easy delivery and/or assembly. This means you can enjoy the lakefront’s incredible value, beauty, and longevity without paying an unreasonable amount for your patio pavilion.

For something a bit higher class, the Cheyenne wood pavilion increases the dimensions of the post size, roof overhang, and more. These design elements give this pavilion a stronger look and feel, while creating a welcoming environment.
| 14′ x 18′ starts at: | Available Sizes: | Roof Pitch: | Eave Overhang: | Columns / Posts: | Ceiling: | |
|---|---|---|---|---|---|---|
 Lakefront
| $8,250 |
|
|
|
|
|
 Cheyenne
| $10,173 |
|
|
|
|
|

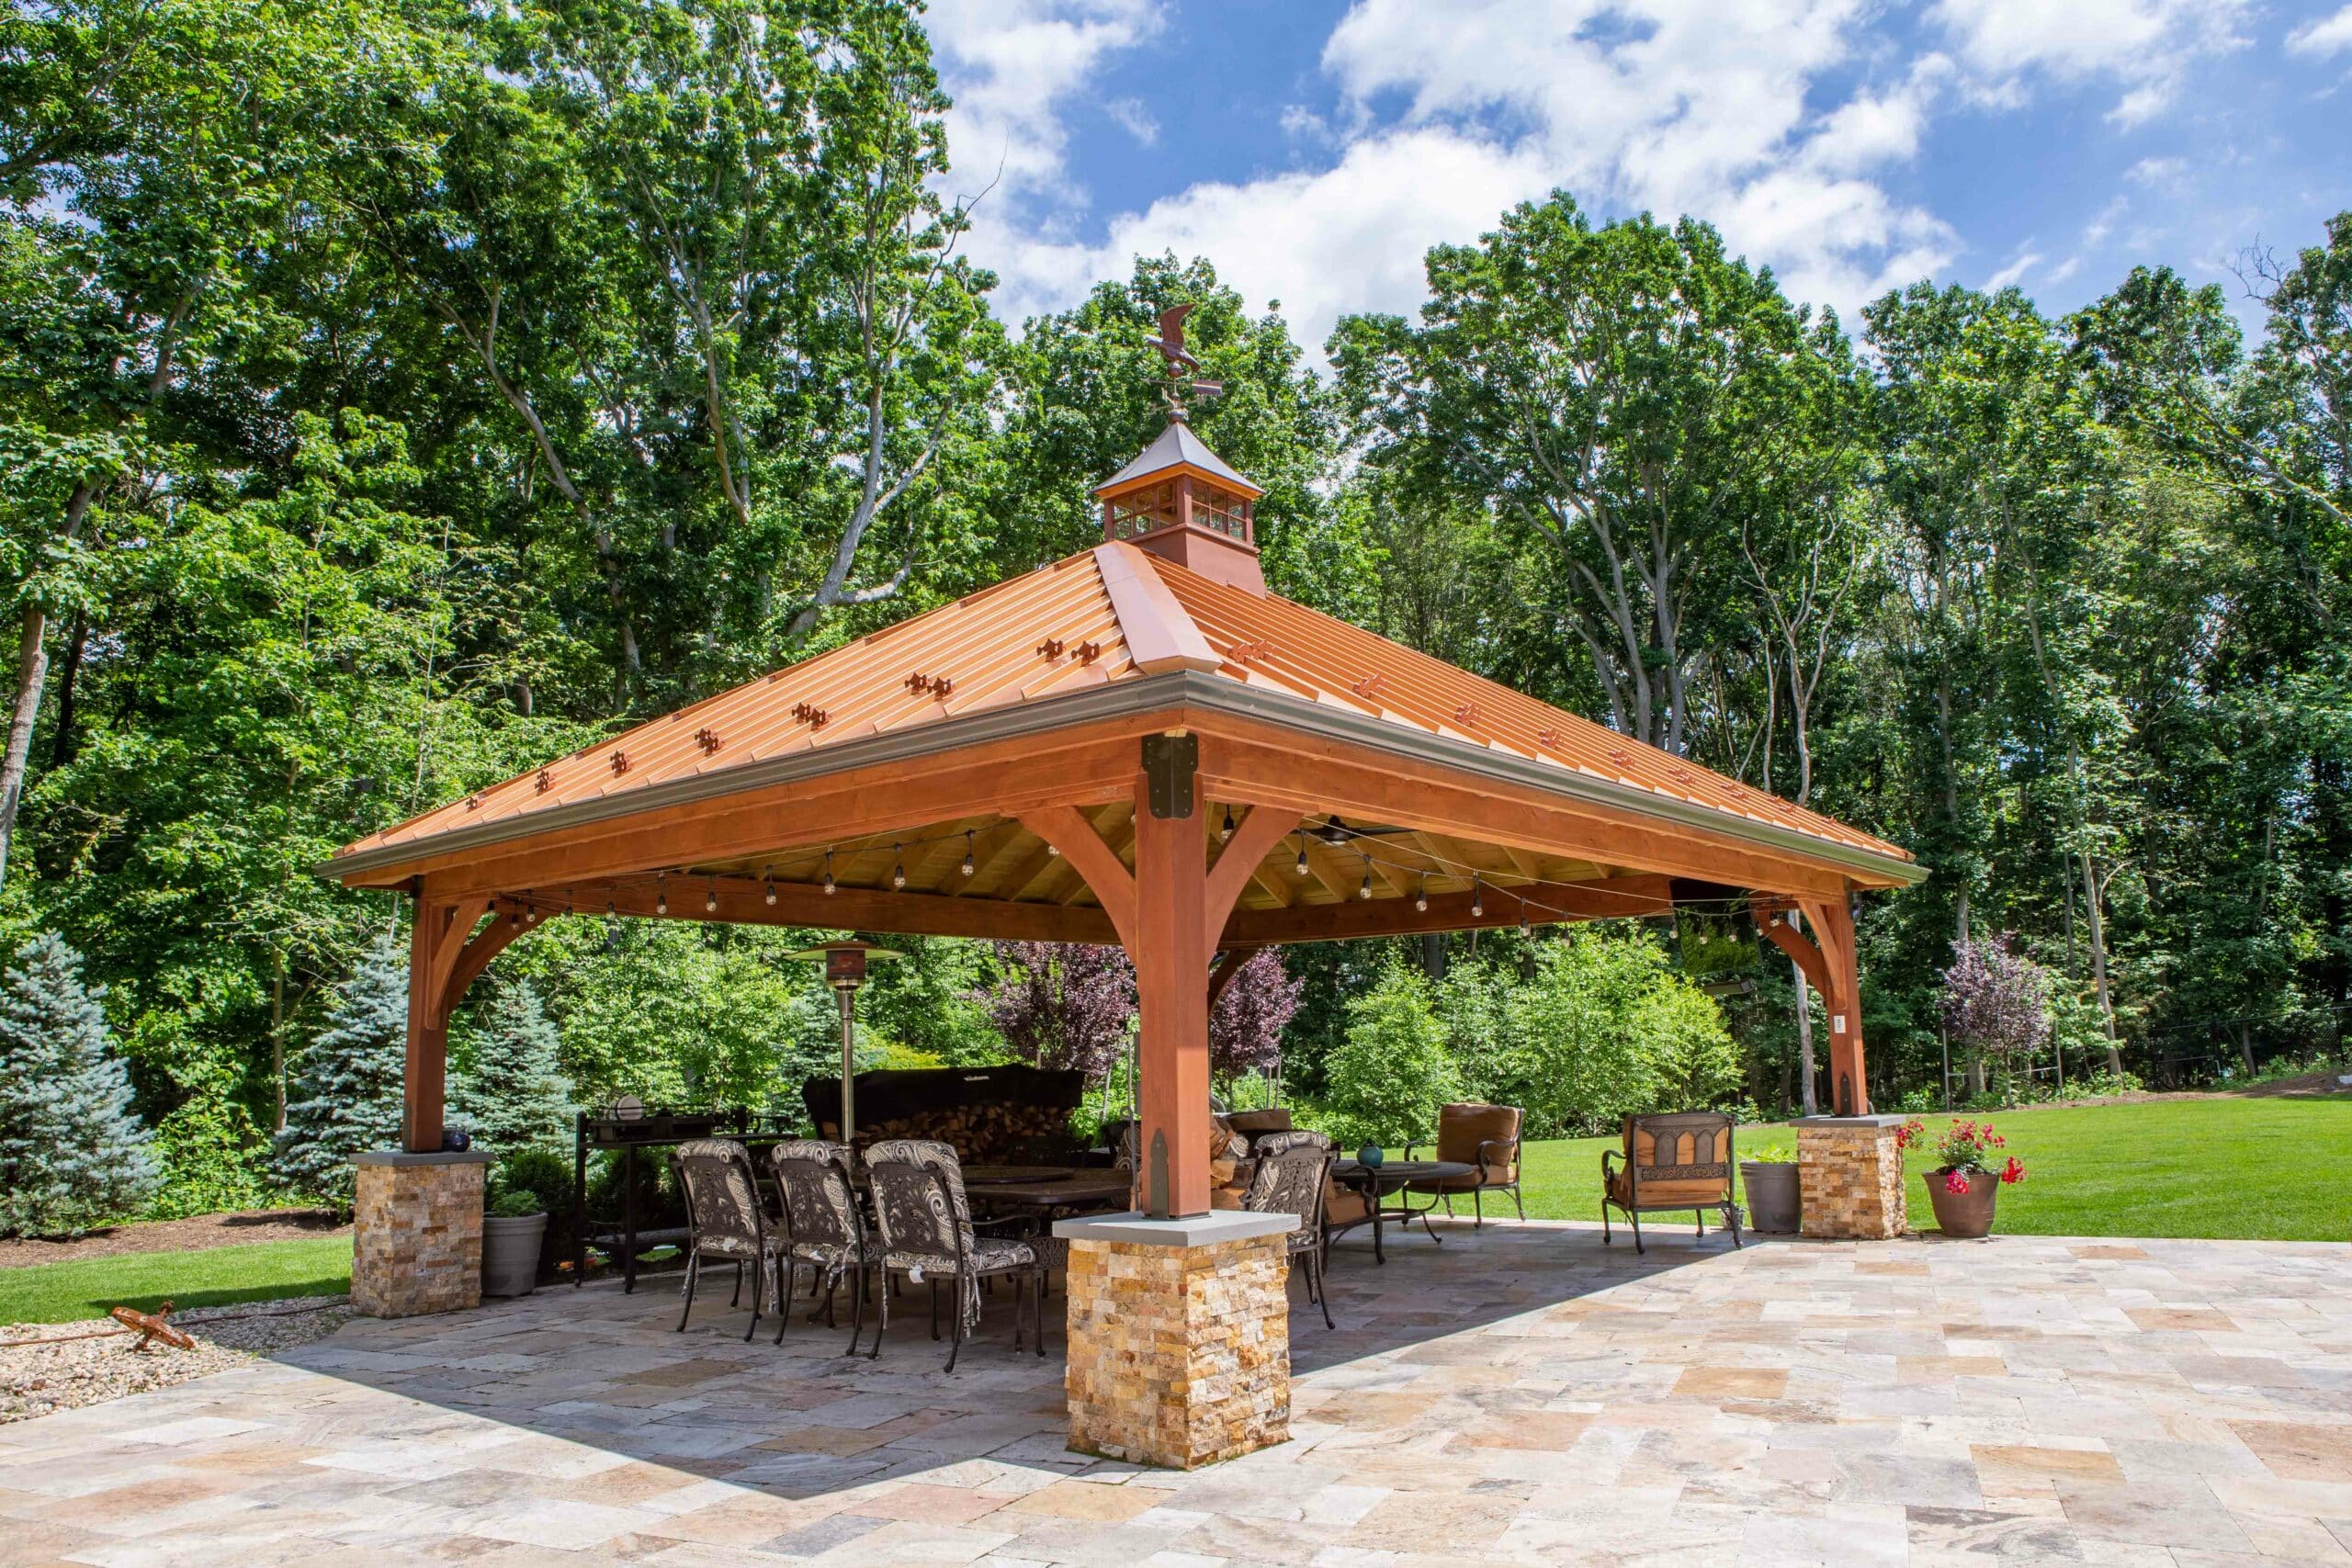
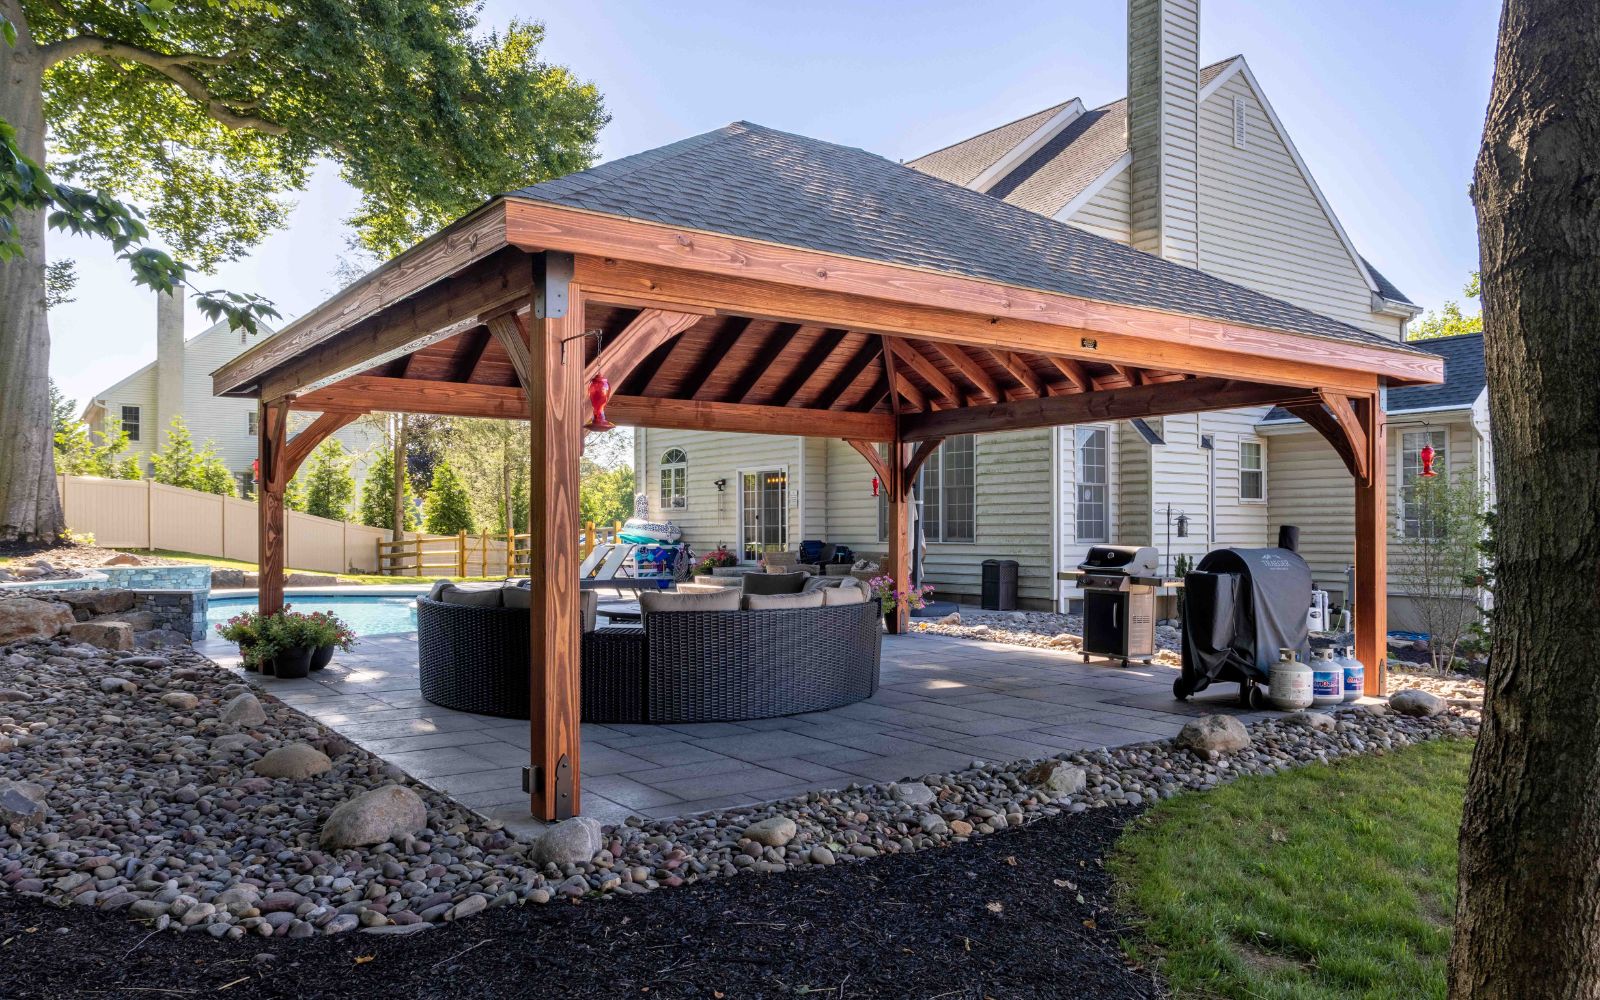
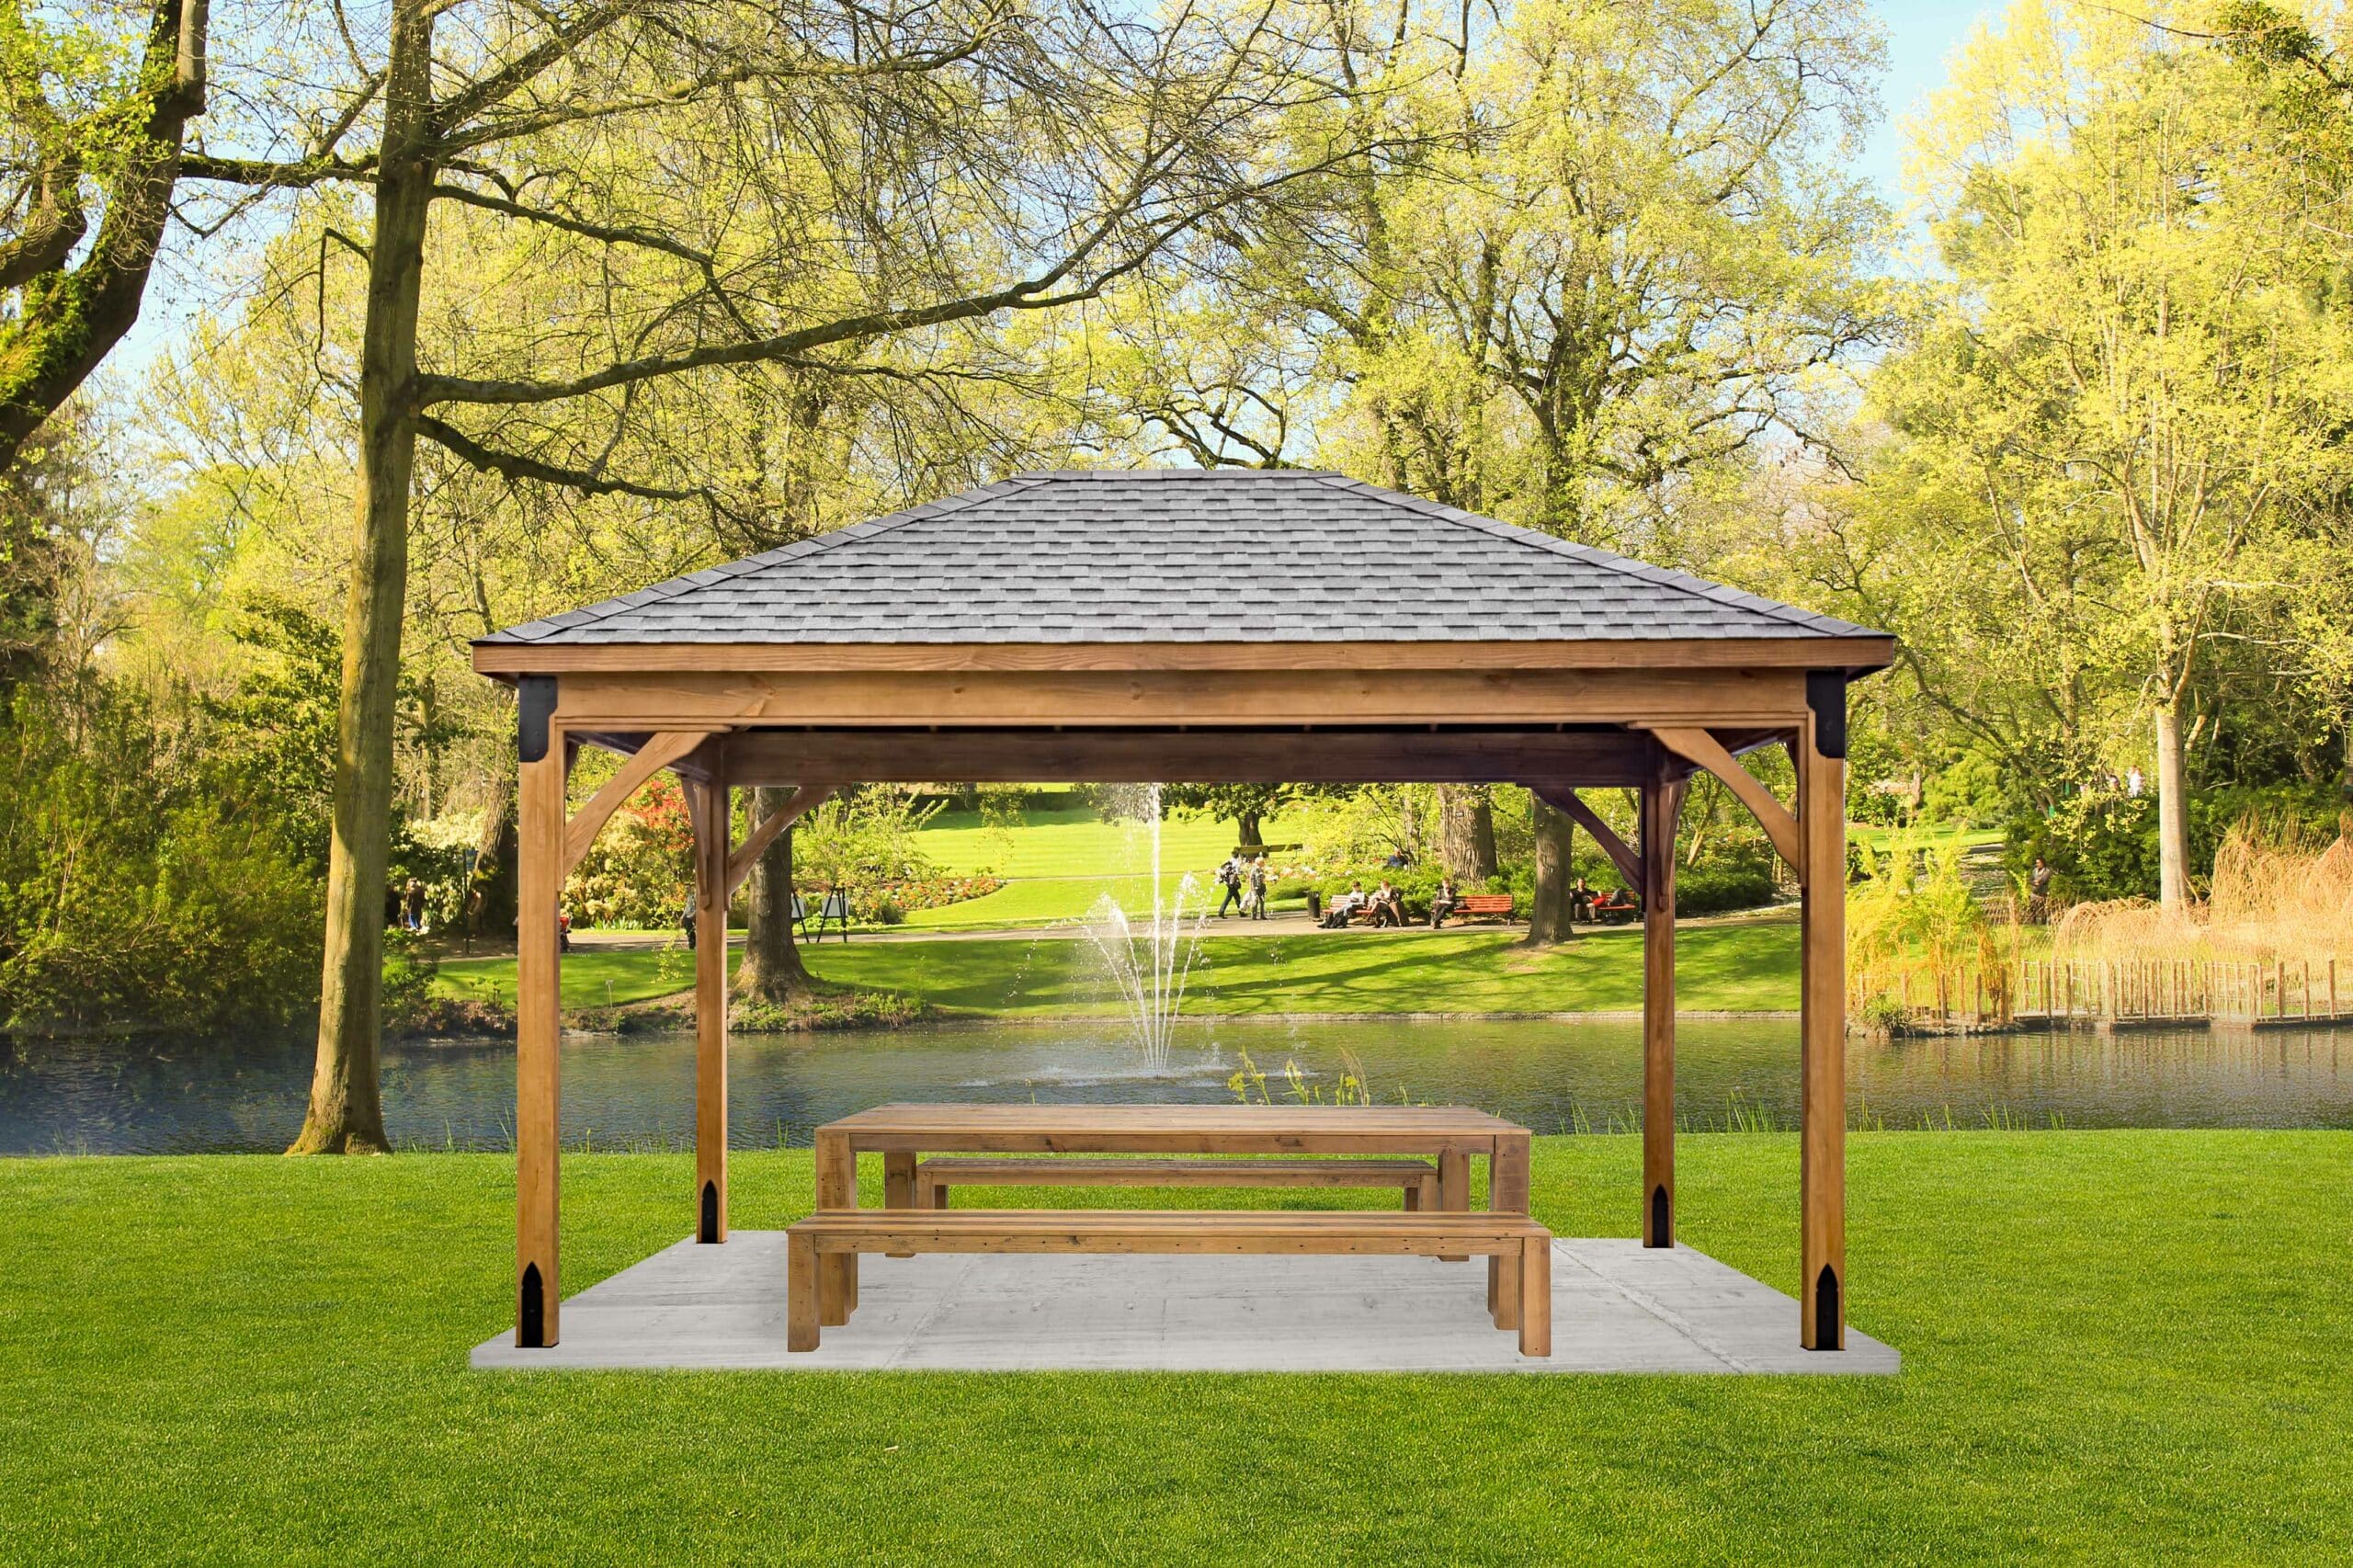
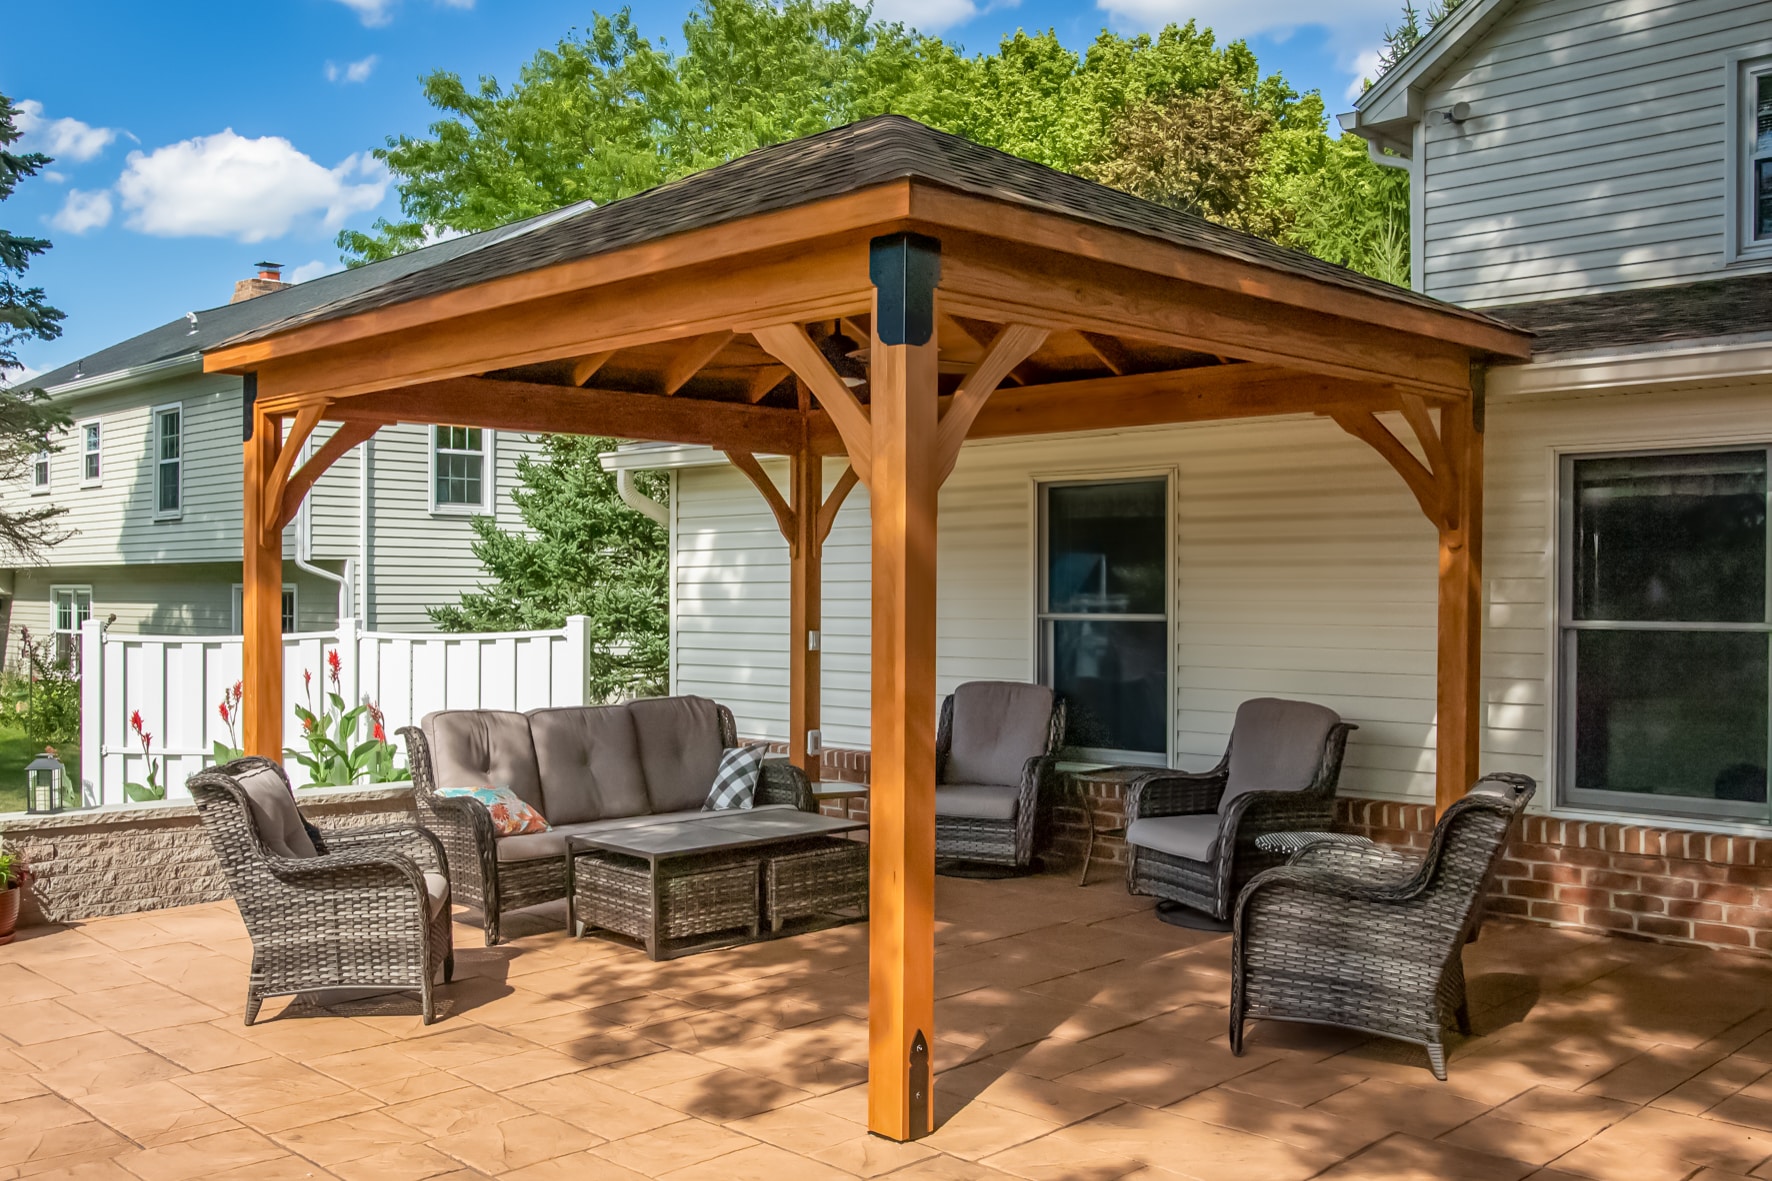


Wood Pavilion Kits bring the warmth and character of real wood to an outdoor structure you can assemble without starting from scratch. With size options for everything from a quiet backyard sitting area to a spacious open-air retreat, each kit includes the necessary construction materials, organized for a clearer assembly process. Shipped across the continental U.S. and more affordable than on-site installation, these kits can be built by you or a local professional.

Yes, we offer privacy walls as an option! Check out this project to see an example of one we’ve built.
Lead times can vary depending on the project. The best way to get an accurate answer is to fill out a quote form, where your project’s current lead time will be displayed as you complete it.
Yes. We can provide a drawing for the concrete footer placement before you place your order.
Pavilion pricing can differ widely based on the sizes and materials you choose. To learn more about what influences the cost, check out our article on pavilion pricing or get in touch for a personalized free quote.
Vinyl, wood, and timber frames are among the top materials people choose when building a pavilion. Each has its own advantages: some are easier to maintain, others are more budget-friendly or long-lasting. Are you curious about which one might work best for your space? Check out our guide on outdoor pavilion ideas for more insight.
Choosing between a pergola and a pavilion comes down to what you’re hoping to get out of the space. One of the biggest distinctions is the roof; pavilions feature a fully covered top that offers more shelter from the weather, while pergolas use an open-slat design that lets in more light. Because of the added structure, pavilions usually come at a higher price point. Want to dive deeper? Take a look at our comparison of pergolas and pavilions.
Yes! We use a laser level and cut the posts onsite as needed.
If your structure has exposed wooden posts and the patio consists of pavers with concrete footers/piers under the pavers, post standoffs are recommended so the bottoms of the wooden posts do not reside beneath the patio surface. The top of each concrete pier should be located 2.5” beneath the top of the paver stones in that exact area. (View example PDF here)
We sell wood pavilion kits for the two styles of wood pavilions we install – the Lakefront Pavilion Kit and the Cheyenne Pavilion Kit.
To place a pavilion on bare ground, you should first install concrete piers just a bit above the surface of the ground.
In many cases, permits are required. Permit requirements often vary by state, county, city, or local municipality. Check your state and local laws for the most accurate permit requirements for you! Lancaster County Backyard does not obtain permits.
LCB ships DIY pavilion kits primarily within a 1,000-mile radius from our location.
In most states, we are able to provide engineered/architectural stamped drawings for pavilions for an additional fee. Contact us to begin the process.
A timber frame uses large, heavy timbers joined with mortise and tenon to form the primary structure, whereas traditional construction relies on smaller dimensional lumber fastened with nails. Learn more about the difference here.
A wood pavilion kit is a better fit if you prefer a warm, natural-looking pavilion that can be customized with different stains or paints. Plus, wood pavilion kits typically have a lower upfront cost than vinyl, even though it requires more upkeep over time.
The milling of lumber creates an extremely smooth surface. For wood pavilions, you can choose a factory-stained finish, or wait to apply the first coat about three months after installation, so most checking is visible and the drier surface accepts stain more evenly; for care tips, see this blog post about “Preserving Outdoor Wood”. For timber frames, we recommend selecting the factory-stained timber option for optimal results and strong UV protection, and reapplying stain on a consistent schedule as exposure and weather demand.
Wood checking is a natural part of owning a wood structure; on pavilions, pergolas, and gazebos, it usually appears in the first year and is mostly cosmetic. Some choose to wait about three months after installation before staining so the wood can settle. On timber frames, checks are typically larger and change with the seasons, yet in a properly engineered structure, they do not indicate a loss of strength.
We recommend that the pavilion columns are placed on concrete piers (cut the concrete and place piers in).
If you’re mounting to an existing wood deck, a good mounting method is to drop the posts down through the deck and secure them to the joists. The recommended method is to take the wooden portion of the post down through the deck. (Trim pieces for vinyl make this a bit simpler.)
We do not recommend fastening to pavers. They do not provide structural stability and are not a secure anchoring method. The recommended method is to install concrete piers approximately 18” in diameter and 36” deep. First, remove a section of pavers at each post location. Then dig down 36”. Fill with concrete to approximately one to two inches below the bottom of pavers. After the pergola or pavilion is installed, the pavers can be cut to fit and replaced around the columns. [Note: Footer size to be verified per job.]

We do offer premier-quality stain in a variety of shades and colors. Although this service provides the most convenient staining option for your structure, it’s even better to wait for staining until three or four months after construction. Dryer wood receives stain better, though you don’t want to wait so long that oxidation becomes evident and the wood starts to gray. Ask us for more direction on the ideal staining procedure for your project.
Please don’t hesitate to reach out. We welcome your questions and are happy to discuss your project in more detail. Call us at 267 638 6983 or email us at sales@lancastercountybackyard.net.

We just had our new 10×12 Gazebo installed yesterday. It’s even prettier than we imagined and the installers were fantastic. So happy–thank you LCB!
Great service! Excellent craftsmanship! Highly recommend!
professionally built gazebo with good price, very well equipped delivery and smooth installation
I own a construction company and can appreciate a professional crew that grinds throughout the day to complete their project. I received exactly what I asked for and the cleanup that followed was exceptional.
We just had a 14×16 pavilion built and we love it! It’s exactly what we wanted. It is well constructed and completed on time. All of the workers were very professional and on time. We would highly recommend.
They do great work. I looked at several companies and I am very pleased with the quality of the structure and the service they’ve provided.
Am very happy with Lancaster County Backyards. Our 14 foot gazebo was delivered on time and is a beautiful addition to our yard.
It was an absolute pleasure dealing with your company and you personally. We are so happy with the finished product.The workmanship is superior to other shed companies. We have and will recommend you to our friends and family. Thank you
A great group of people to deal with. Our gazebo was built with quality materials and exceeded our expectations. My wife and I enjoy both breakfast and dinner there as often as we can. We love the openness and shade it offers.
Wonderful experience with the planning and building of our pavilion. They were so helpful and the workmanship was top notch. It’s become the new favorite part of our home. We love sitting outside in the rain!
Excellent experience with the construction of a custom pergola. Very professional. Work was done efficiently and first rate quality. Highly recommend.
The re-roof these folks performed on our cedar shake gazebo was beautiful. The attention to detail was particularly impressive. Everything was removed and replaced in one day. Fantastic!


